Product
Features
column
column
Add-ons
Integrate
Custom Versions
Customers
By Industry
By Role
Success Stories
column
column
Pricing
Resources
Product Support
Education Resources
section
4 min read
It is very common nowadays to collect leads via forms placed in your landing page and website. Via HubSpot and Zapier you can easily create your form and stick it to Sage Sales Management, to skip the process of inserting manually those leads into the CRM.
Whenever someone submits the form, a new account will be created on your Sage Sales Management implementation, helping you to save your time and increase your productivity with lead capturing.
So let’s get started!
Follow these steps to start making your custom HubSpot form easily.
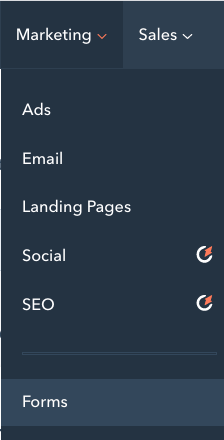
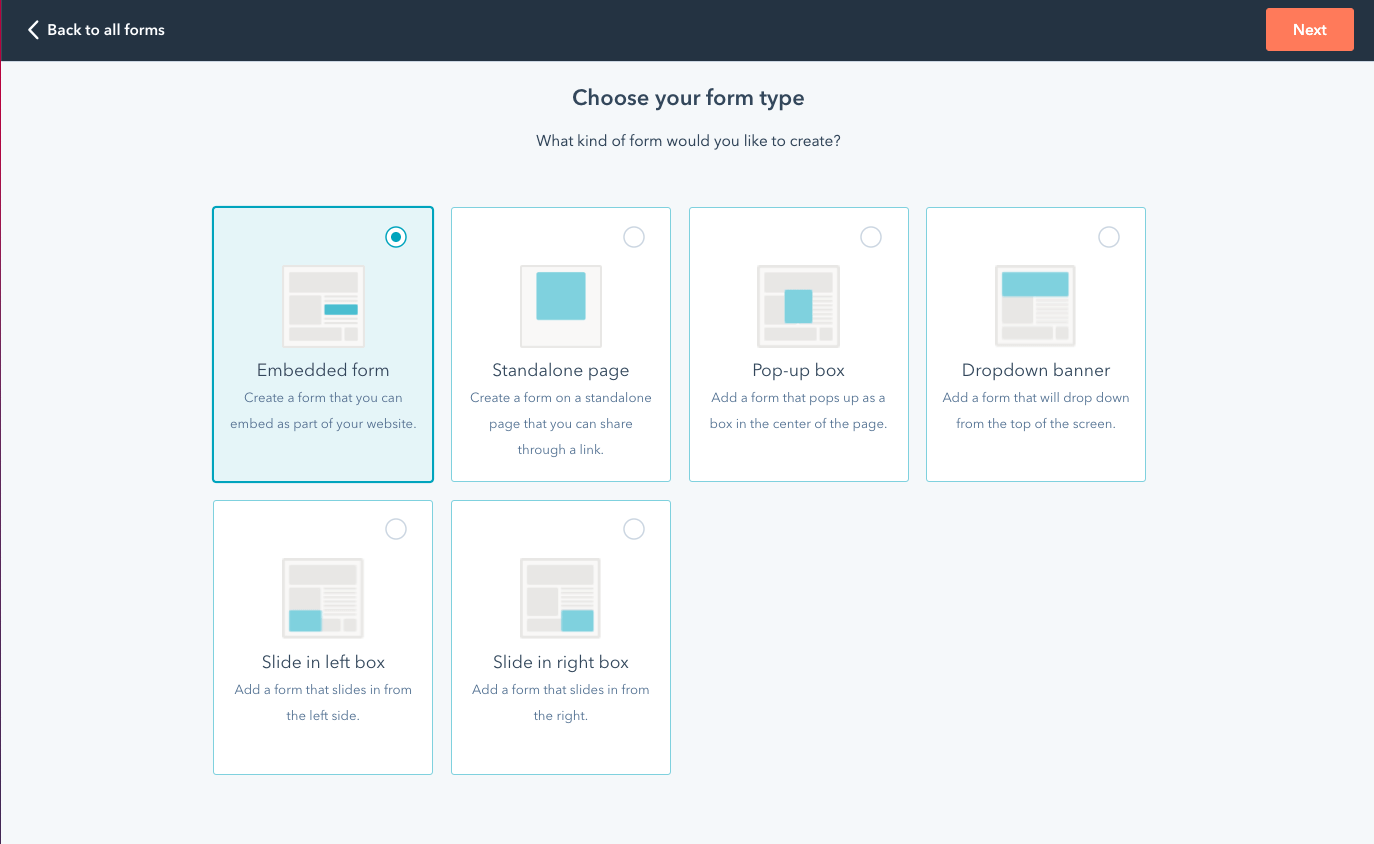
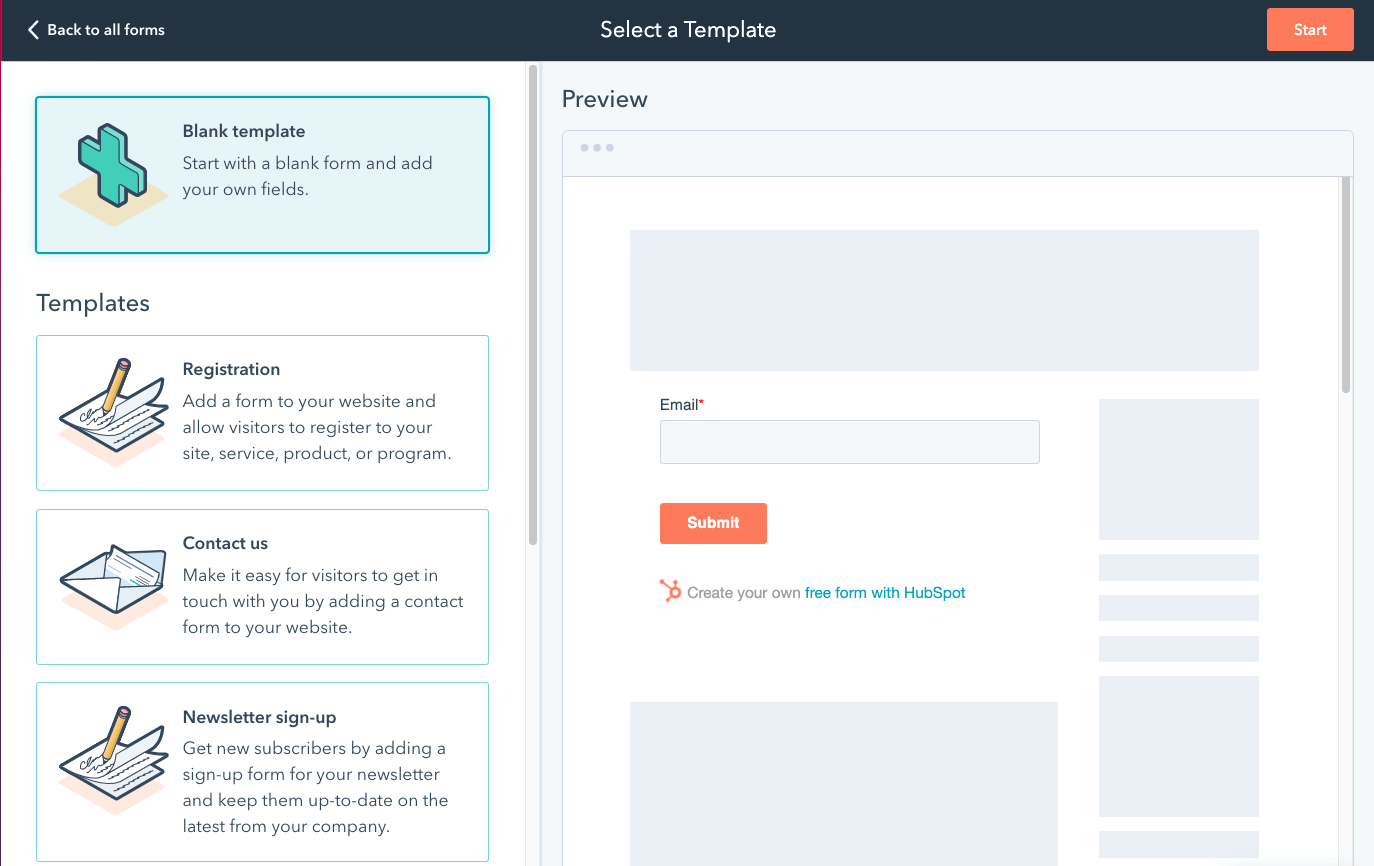
Step 1: Create form
You can follow the official HubSpot guide to see how to create one easily. Basically:
Step 2: Add and edit forms field
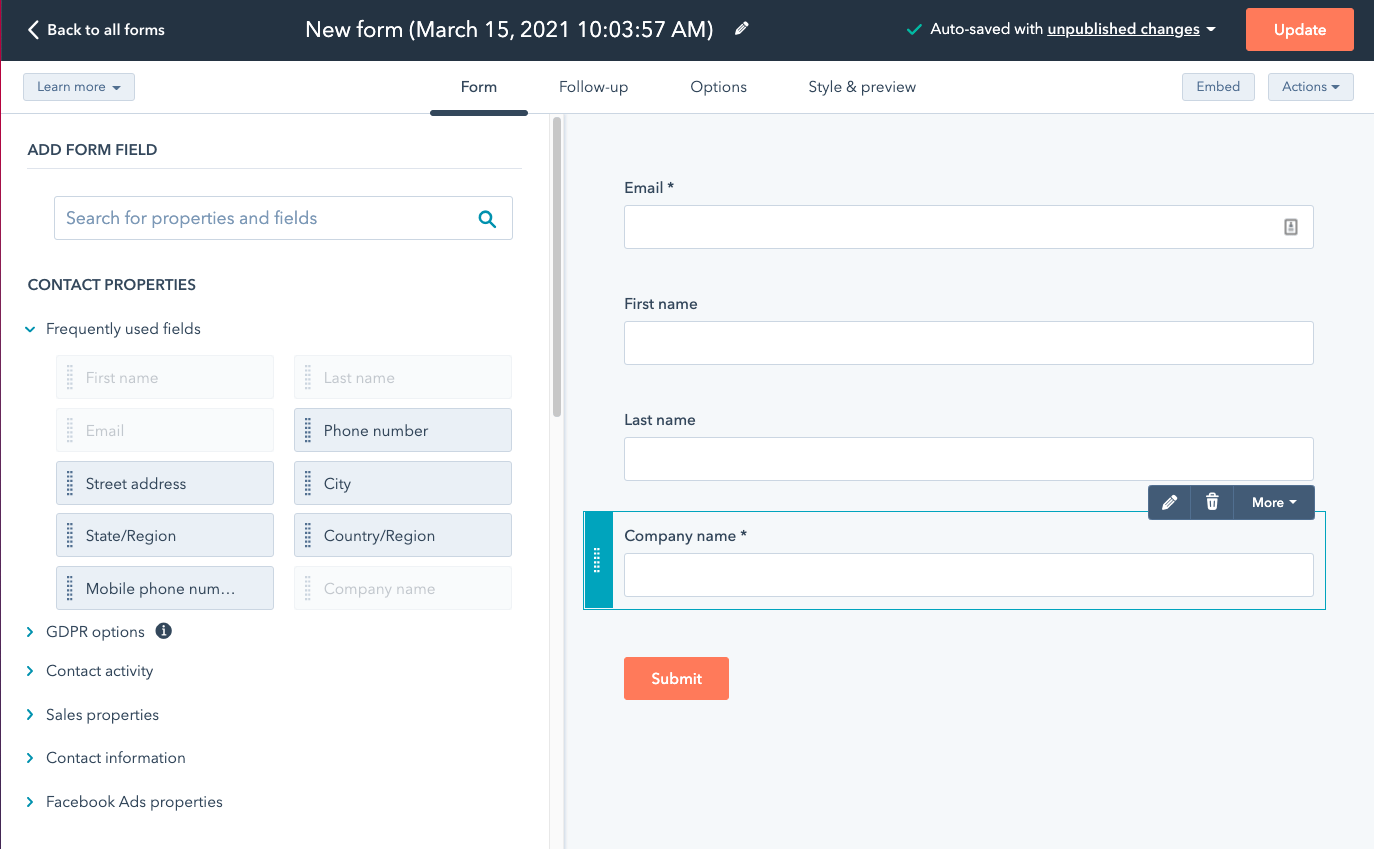
Step 2: Publish your form
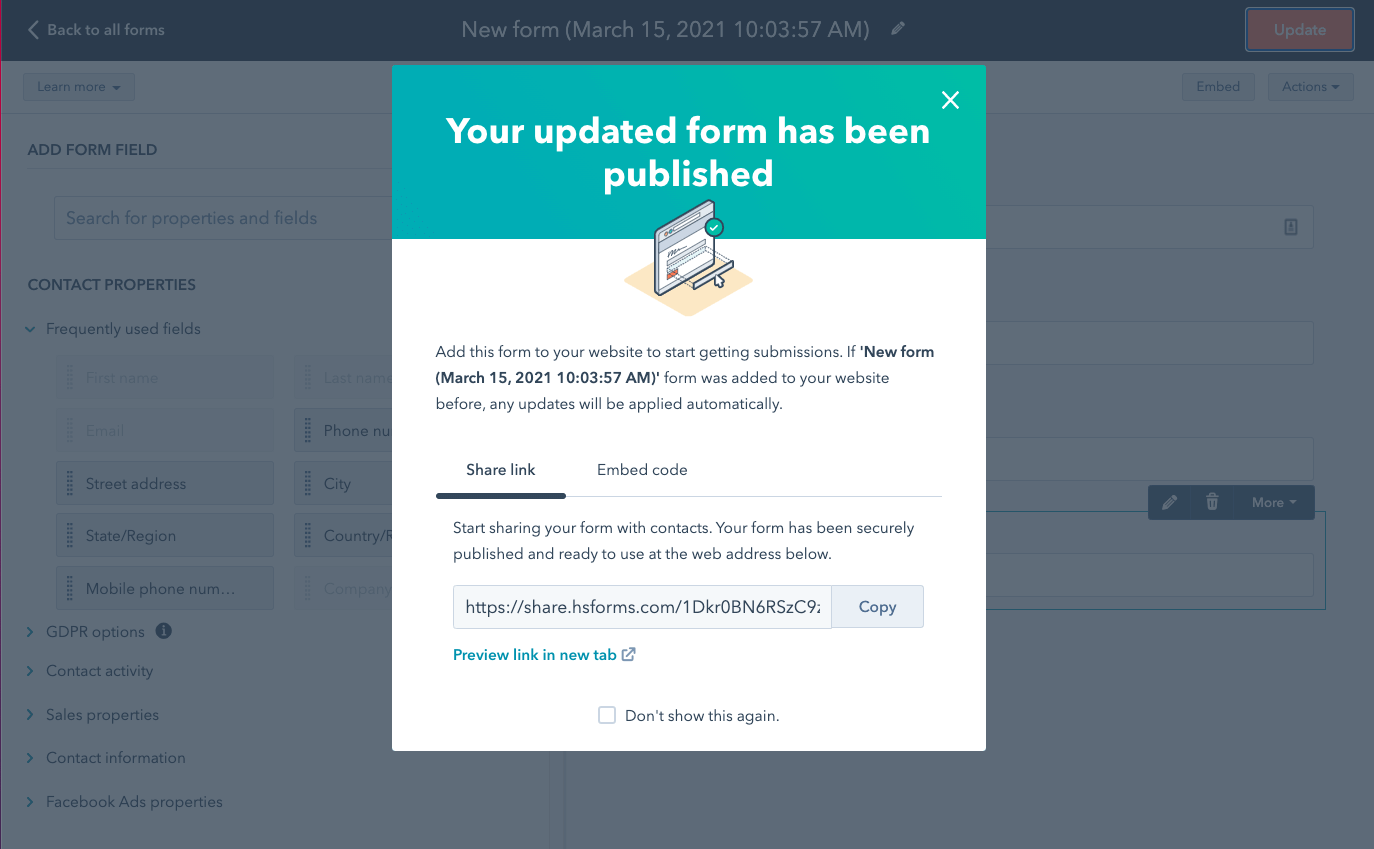
In the top right, click Update to take your form live and make it available.
A popup window will appear that allows you to copy the form code that can be added to any website, in fact you can embed your form on an external website or share it as a standalone page. In this example we will embed it in a WordPress website.
Let’s do it!
Add your custom Form to your website
Now we are going to publish the HubSpot form in a WordPress website, to capture the leads that will visit it.
Step 1: Install HubSpot plugin
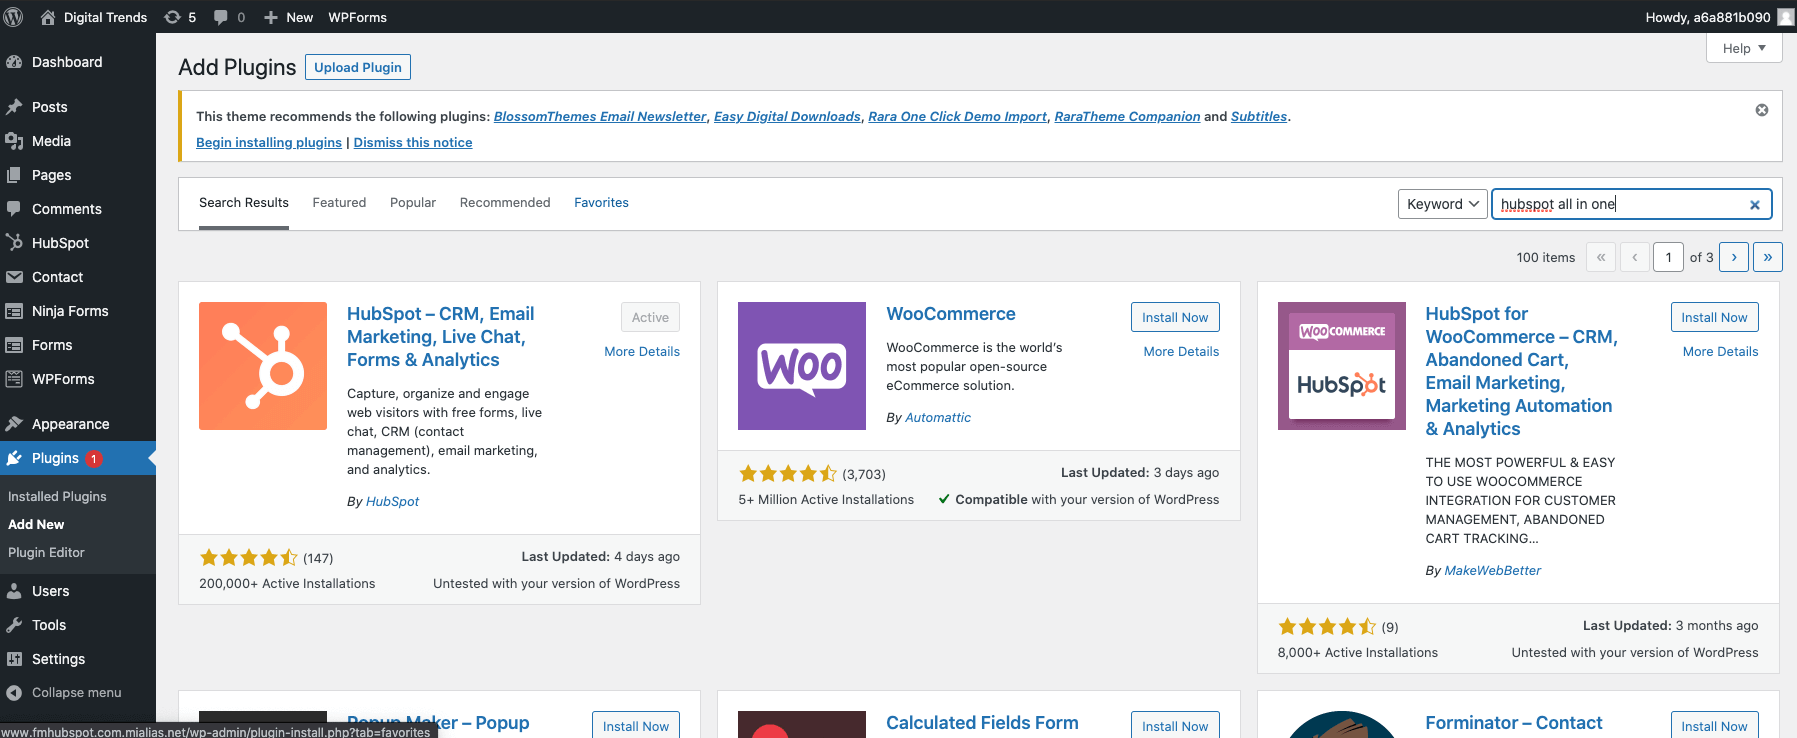
In your WordPress admin, go in the Plugins menu item and install the HubSpot all in one plugin
Step 2: Login in HubSpot plugin
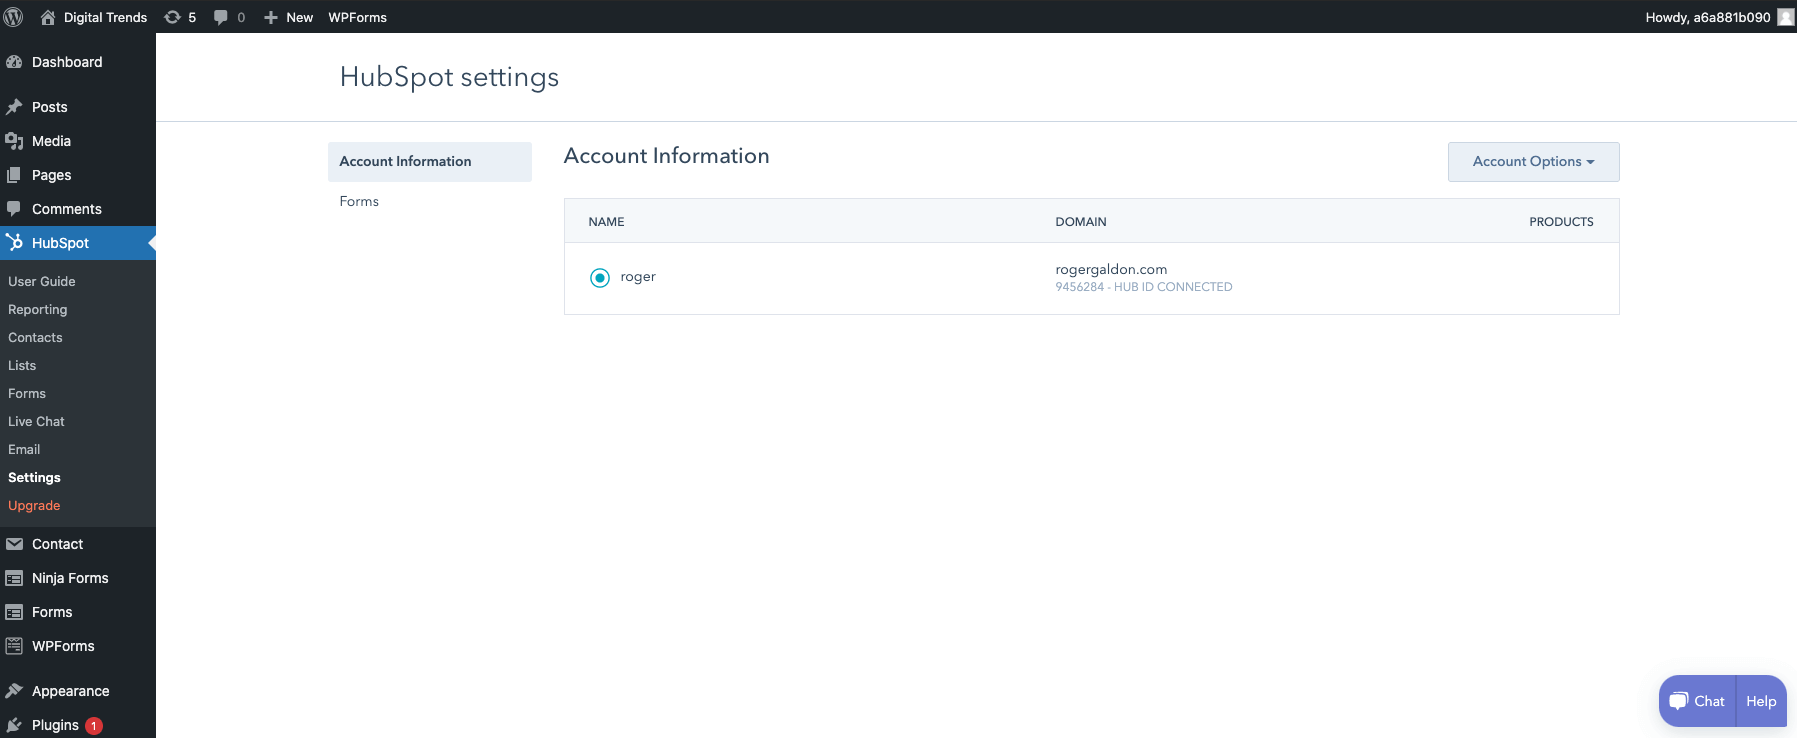
Once installed, click on the HubSpot menu item and add the credentials of your HubSpot account
Step 3: Embed your HubSpot form
Now it is time to add the HubSpot form on our website. Remember the code at the step 2 of the previous section? It is time to use it. So go back in your HubSpot account and copy the code of the form previously created.

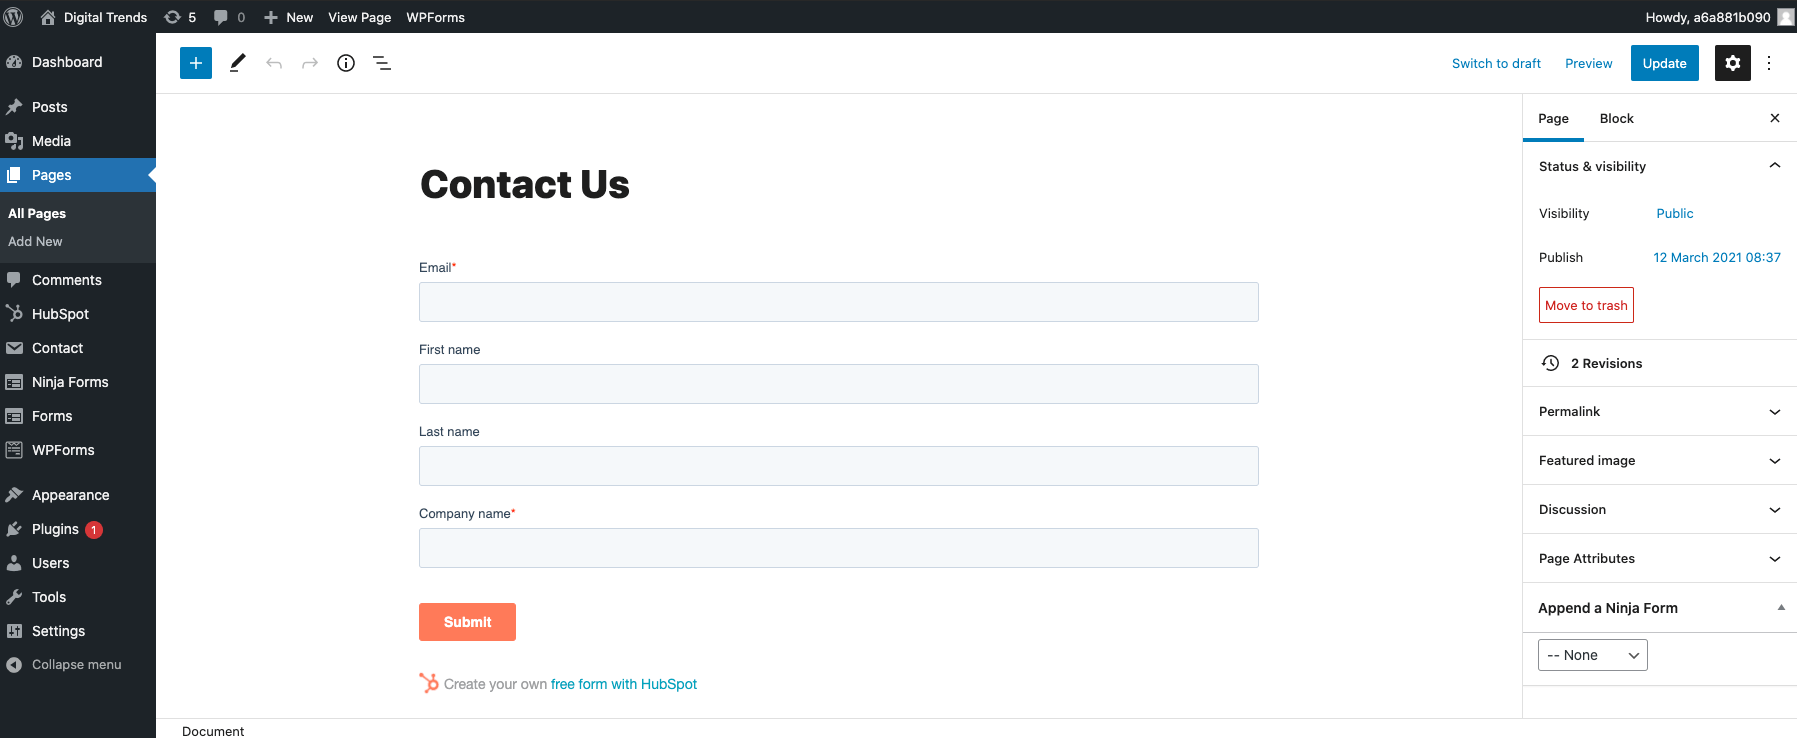
Then create an article in WordPress, e.g. a Contact Page, and simply paste the HubSpot code into it.
Step 4: Publish your page
Now publish your page of your WordPress website to make the form available to any lead that will reach it.
Step 5: Add test entry to your form
After creating the form, you need to add at least one entry to your form for testing the connection between HubSpot Form and Sage Sales Management. This will be required later in this tutorial.
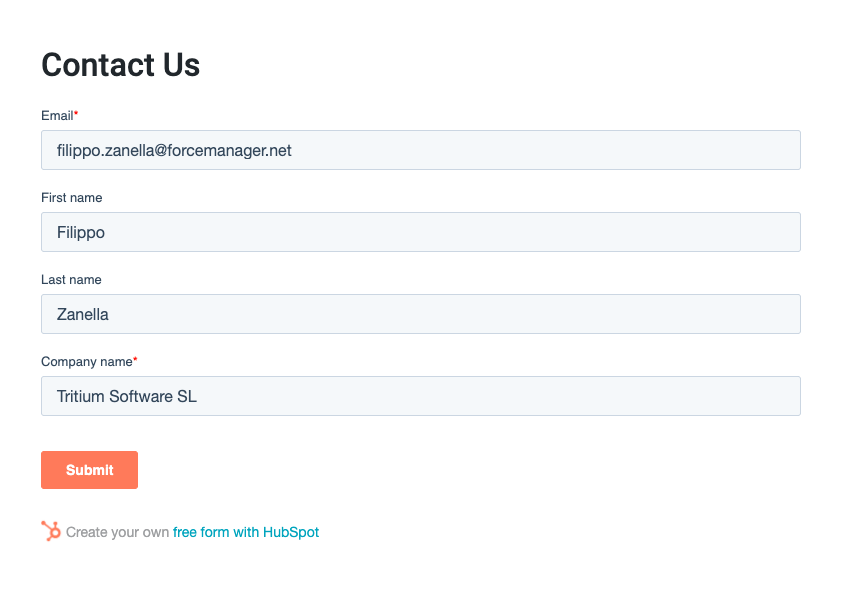
So open your form published in your website in a new tab of your web browser. Now fill in the form and click on the Submit button to create a new entry for testing purposes.
Zapier allows you to create zaps to connect 2 or more apps and do an automatic task continuously. And the zap requires a trigger to perform a specific action.
In our case, the trigger is when someone submits our HubSpot form (that is a lead is created in HubSpot) and the action is to send those leads to the Sage Sales Management account.
So go to the Zapier website and log in to your account. In case you don’t have a Zapier account, you can create one for free.
Step 1: Create the zap
To create a new zap, click on the Make a Zap! button present at the top-right corner. This will open up a new page to start the configuration wizard.
The process of creating a zap is divided into two parts. First, you need to set up HubSpot as the trigger app and then, you’ll have to configure Sage Sales Management as the action app.
Let’s proceed to the next step to start the process!
Step 2: configure HubSpot as the trigger app
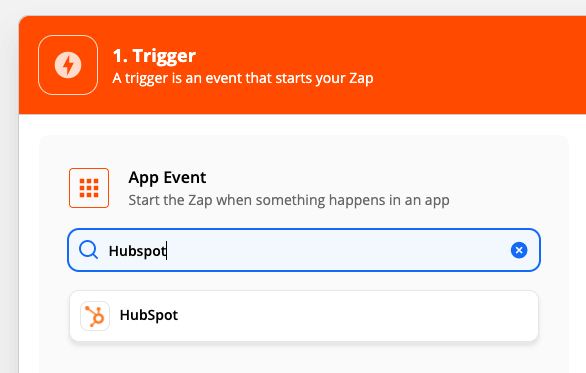
The first thing you need to do is searching for HubSpot using the Search apps… box in the App Event box. Once HubSpot is presented, click on it to go to the next step.
You’ll have to choose a trigger event now. Select the New Form Submission one.

Click on Continue.
In the next step, you’ll have to connect Zapier to your HubSpot account. To do that, click on Choose an account… dropdown menu and then on +Connect a new account button to start the process.
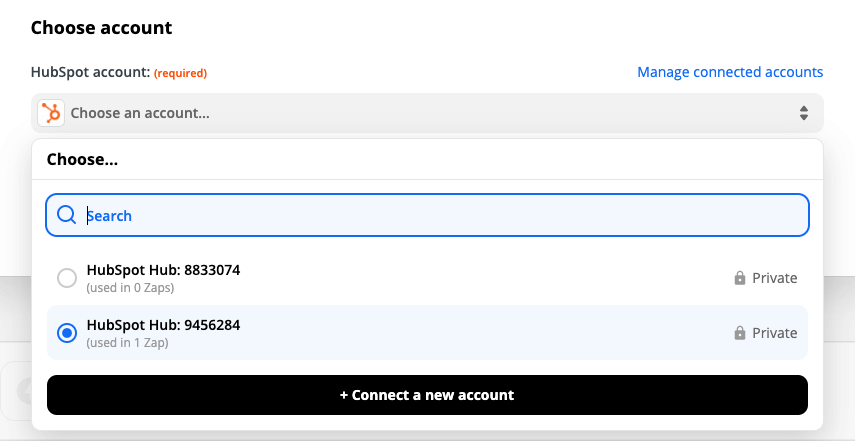
This will open up a popup window that will ask you to select your HubSpot Account. Choose the account you used for creating the HubSpot form.
Then click on Connect app button
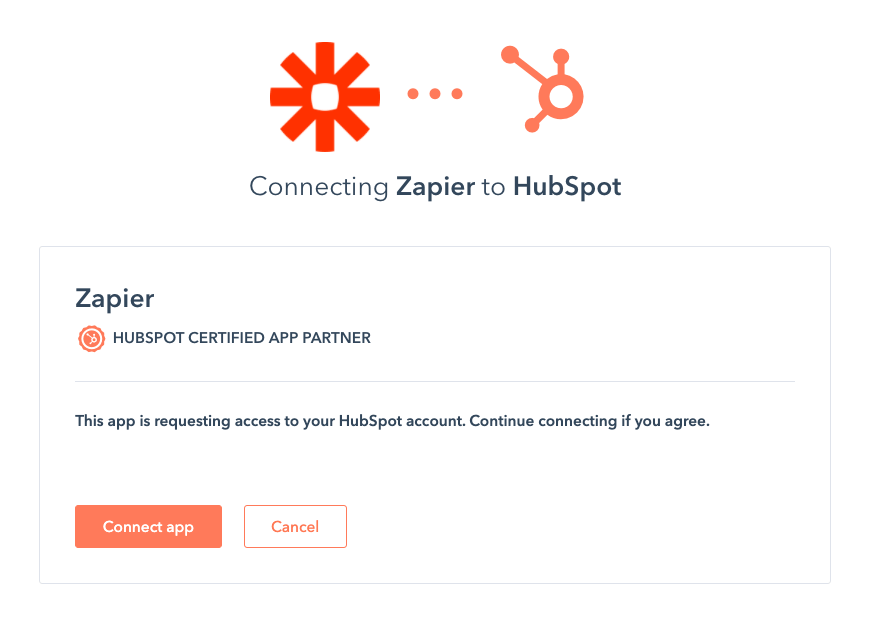
Once done, click on Continue
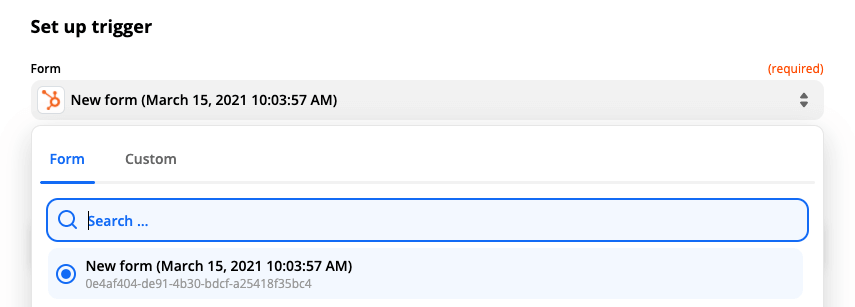
Now you have to select the form you want to link to the Zapier integration.
So look for the HubSpot form you have previously created and select it.
Then press again on Continue.
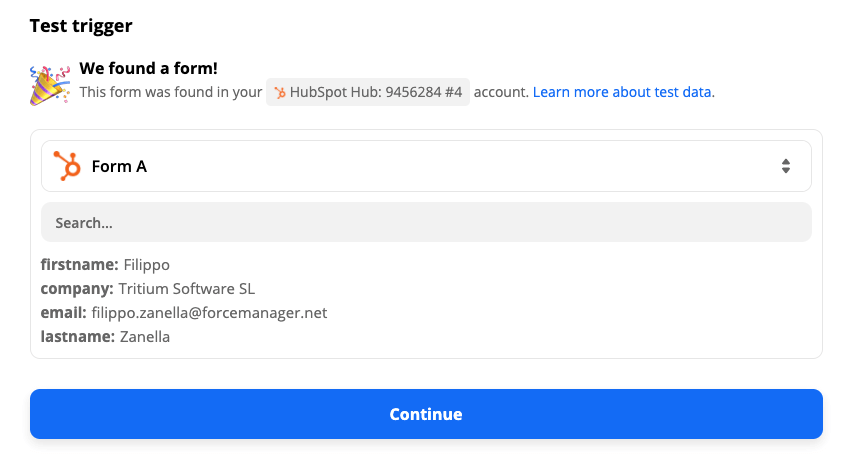
To test the connection between the Hubspot nad Zapier, you can click on the Test trigger button. If you get a success message, then click on Continue to proceed.
In the previous step we have seen how to configuring HubSpot as the trigger app. It’s time to set up Sage Sales Management as our action app.
Again, the first thing you need to do is searching for Sage Sales Management using the Search apps… box in the App Event box. Once Sage Sales Management is presented, click on it to go to the next step.
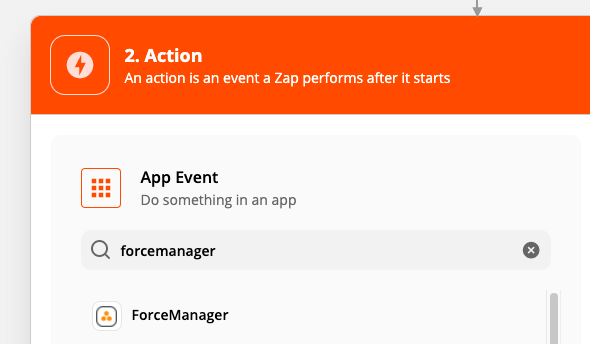
You’ll have to choose an action event now. Select the Create account one.

Click on Continue.
In the next step, you’ll have to connect Zapier to your Sage Sales Management account. To do that, click on Choose an account… dropdown menu and then on +Connect a new account button to start the process. This will open up a popup window and will ask you to enter the API keys. If you don’t have ones, Go to settings > integrations > API key management inside the Sage Sales Management web app to find your API keys.
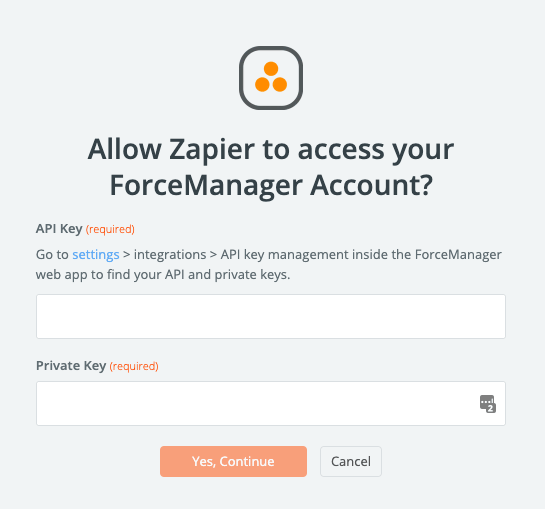
Once done, click on the Yes, Continue button to give permission to Zapier to access your Sage Sales Management account and perform different actions.
Click on Continue once you have prompted back to the Zapier zap creation webpage.
Now you have to map your form fields with those of Sage Sales Management. Remember to fill all the Sage Sales Management mandatory fields, in particular the Owner one.


Once you made it, click on Continue scrolling down to the bottom of the page.
Now you have to test the connection between Sage Sales Management and Zapier, so click on the Test & Continue button. If you get a success message, then you can finally turn your zap on clicking on the Turn on Zap button. Also, you can give your Zap a name of your choice.
