Product
Features
column
column
Customers
By Industry
By Role
Success Stories
column
column
Resources
Product Support
Education Resources
section
Product
Features
column
column
Customers
By Industry
By Role
Success Stories
column
column
Resources
Product Support
Education Resources
section
Product
Features
column
column
Customers
By Industry
By Role
Success Stories
column
column
Resources
Product Support
Education Resources
section
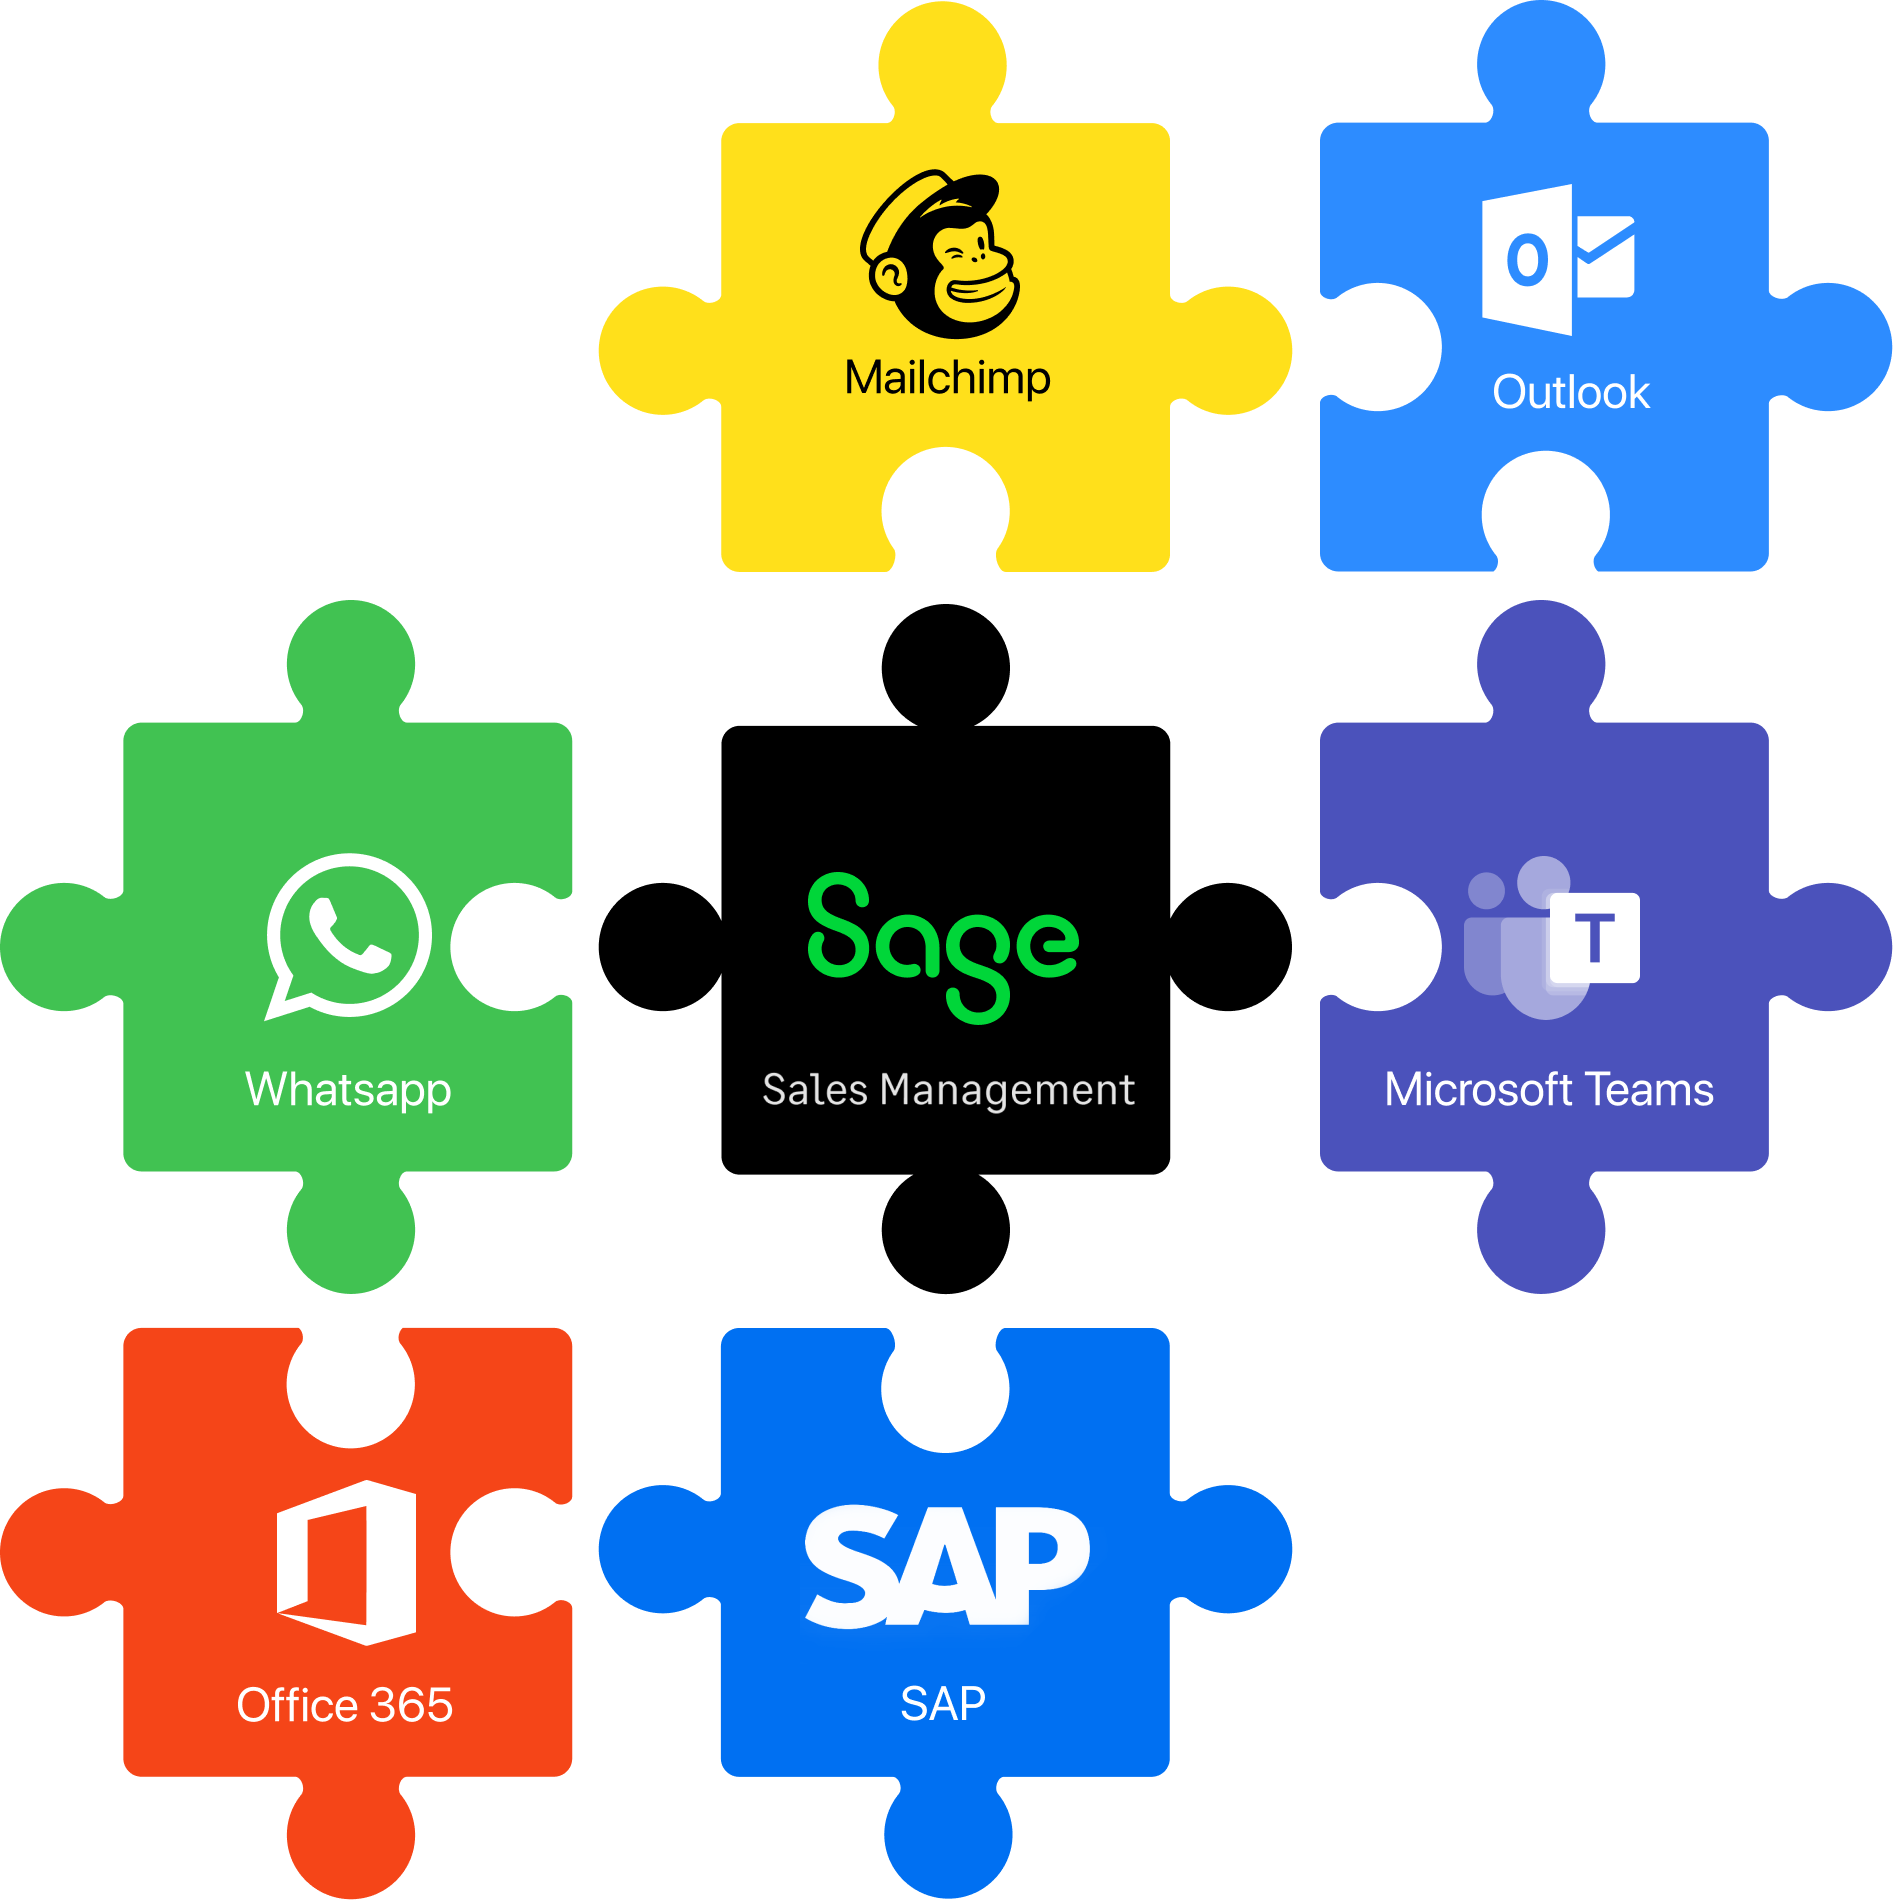
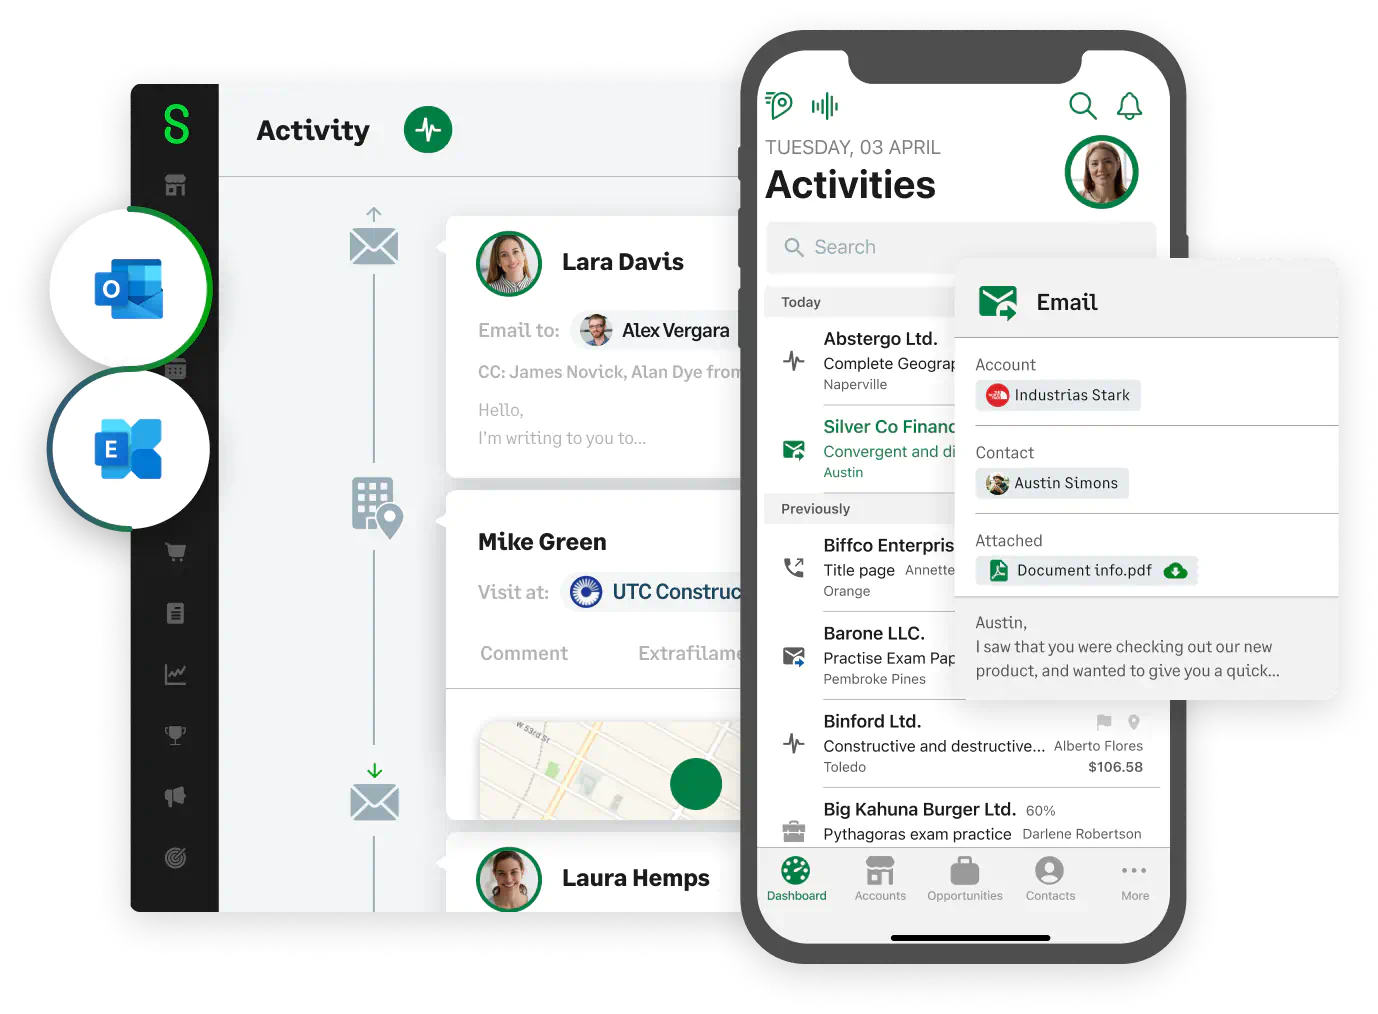
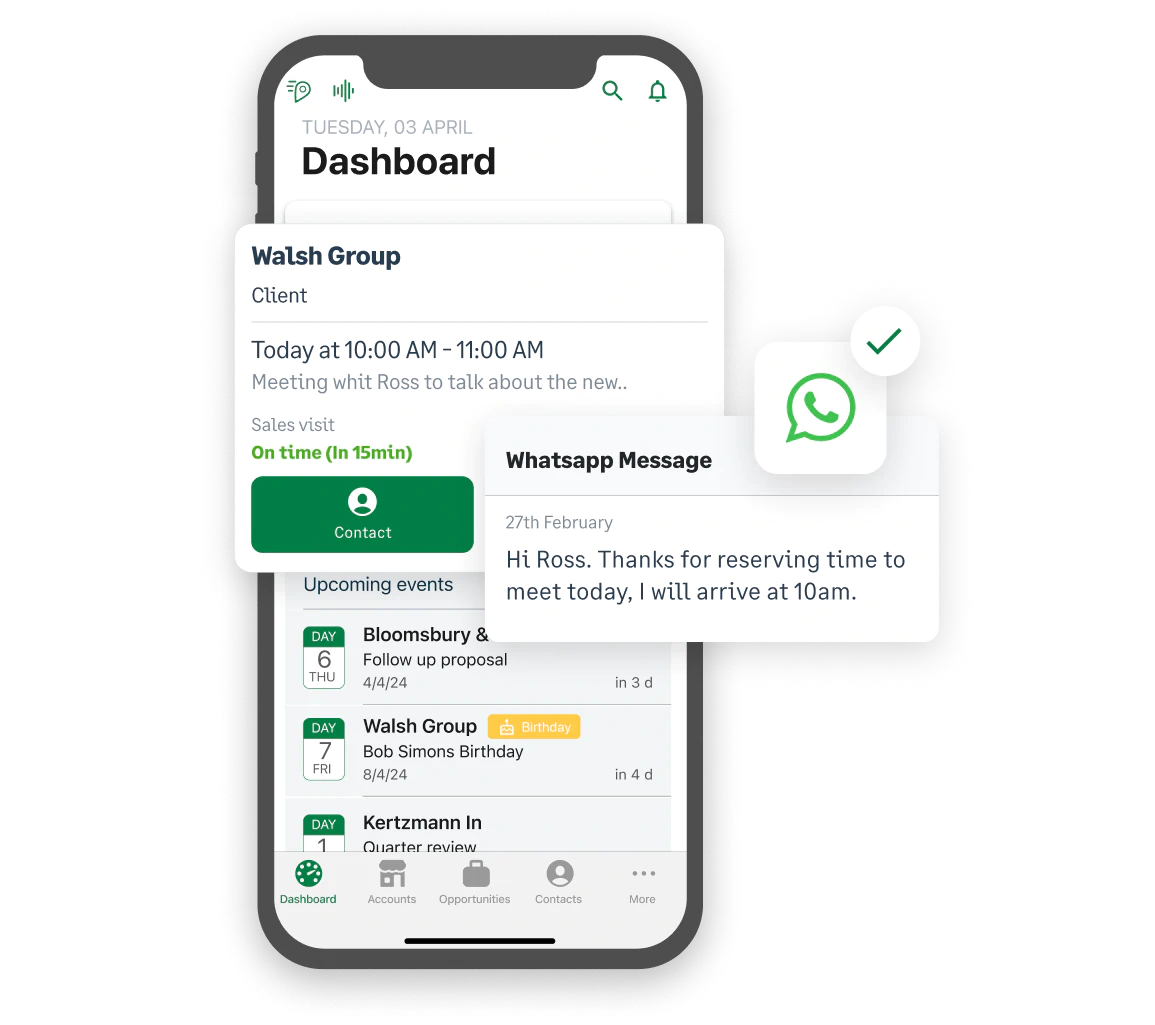
Check details of your next meeting, plan a new appointment or video call, view your customer emails all without leaving Sage Sales Management.
The most powerful amongst all of our integrations
Use your CRM from within Microsoft Teams
Organize video calls and report them in Sage Sales Management. Have key information readily available, take notes and more.
Sign in with your Microsoft Account
Leverage Single Sign-On for quick access using your Microsoft username and password
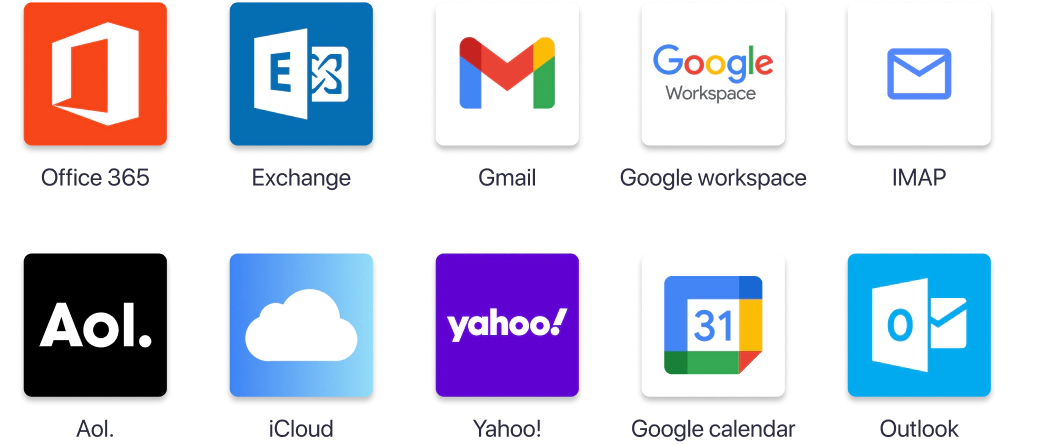
Synchronize with Outlook Exchange
Sync your calendar, review and respond to customer emails without leaving Sage Sales Management.